Cosplay Sewing Basics: Bias tape
Bias tape is something that will probably come up sooner or later in one of your cosplay projects. Many of you might even have used it before, without really knowing exactly what it is, or how it is made.
What is bias and what is it used for?
You know how a lot of cosplays have lines in their designs? Take a look at these characters from Owari no Seraph.

See those lines? That will be the topic of today.
There can also be lines on the edges of costumes. Code Geass is a really good example of this.

Satin ribbon

Now there are multiple materials you can use to achieve these stripes. One of those ways is using satin ribbon (pictured above), which can be incredibly beautiful and has a really nice shine to it. It can also be hard to sew, though, and while it works well when you have to stitch it in a straight line, things become a lot harder when there is even the slightest curve, because satin ribbon doesn’t stretch. This will end in bumps, pleats, and an overall unpleasant time while sewing. Below is a picture of the collar of my two star Mako Mankanshoku uniform, which has two gold stripes, to show you how what that looks like.

Even though the collar doesn’t have a dramatic curve, the satin bubbles a lot and won’t lay flat.
Bias tape

Another kind of ribbon you can use, is called bias tape. This tape is made of fabric strips cut at a 45˚ angle, which is called the bias of your fabric (hence the name).

Because the bias of the fabric stretches (even when the straight grain and cross grain don’t), bias tape also has stretch to it. Because of this stretch, it will curve more easily. It can even follow the curve of your neckline and armholes.

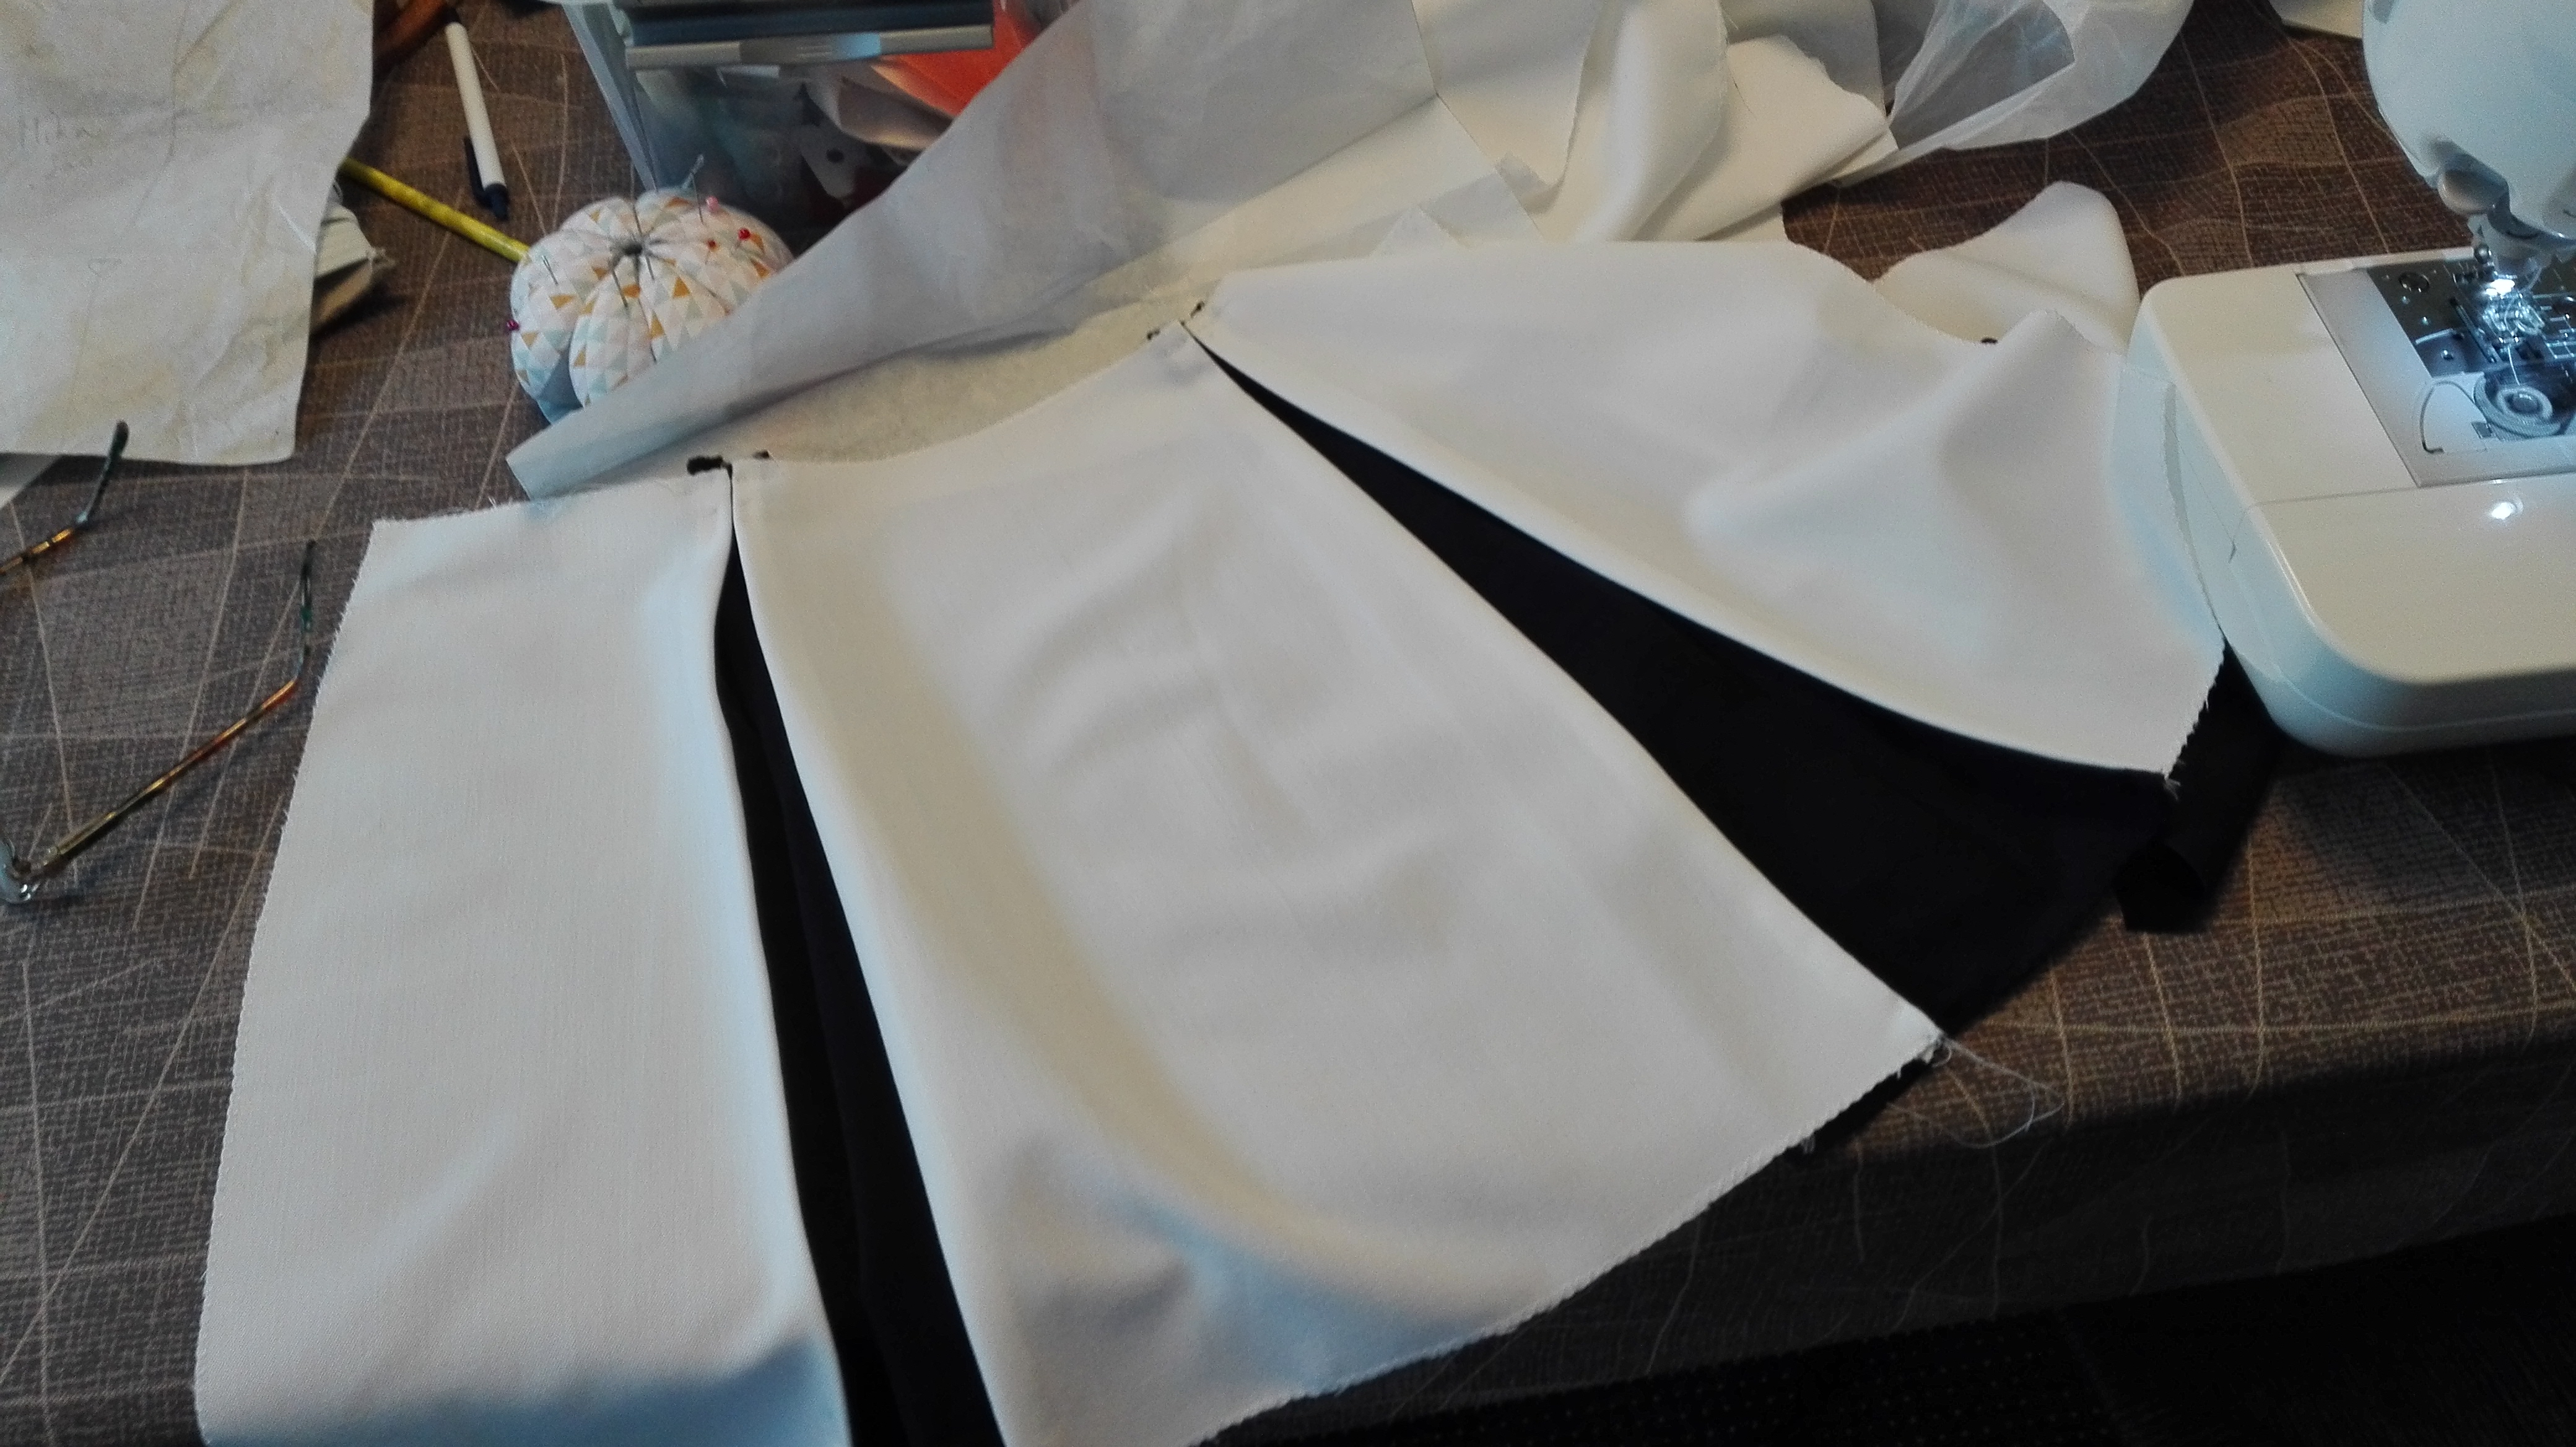
Look at this collar. Even though it also has a slight curve, the bias tape doesn’t show any “bubbles”.
Bias tape can also come in the shiny golden colours.

Single fold and double fold
Bias tape comes in two varieties: Single fold and double fold.
Single fold bias tape is what is used in the picture above, the one with the collar. As the name suggests, it is only folded once, or rather, both sides of the fabric are folded to the inside once, as pictured below.

You can use single fold bias to make those random lines in the middle of a stretch of fabric. Just pin them onto your fabric, and topstitch. Easy as that!
Double fold bias tape, on the other hand, is what you get when you fold your single fold bias tape a second time. Logical, isn’t it? Double fold bias tape is usually used to cover the edges of your fabric, like the edges you can see in the code geass image. When folding and ironing the single fold bias tape to make double fold bias tape, usually the fold is not in the center of the tape, but one side is kept longer than the other, this way, it is sure to be caught in the stitches when you topstitch from the right side, or use a stitch-in-the-ditch method.
Making your own bias
You can buy premade bias in a store with sewing supplies or a fabric store, but you can just as easily make it. Making your own bias has some advantages, such as:
- it’s cheap
- you can have tape in the exact same colour as another part of your costume.
- you can have some wacky design on your bias tape, or use less common colours (premade bias tape only comes in a few colours, and it is always a solid colour)
Making premade bias is also really easy. I will not go into details of how to actually make bias tape here, because that would bring us too far, and there are plenty of good tutorials to be found online already. I will, however, add a few notes that I haven’t seen addressed anywhere else.
What do you need to make bias tape?
You need very few supplies for making bias tape. Just some fabric, a bias tape maker and an iron. The choice of fabric is important though. Traditionally, bias tape is made out of cotton, which can be ironed on high heat and which holds folds really well.

This doesn’t mean you cannot make bias tape out of other fabrics. Though not all fabric is suited for making bias tape, one of the previous advantages to home-made bias tape I just listed included making it out of the same fabric/colour as other parts of your costume. When choosing fabric you want to use to make bias tape, keep in mind the following:
- Fabric that holds folds well is easier to work with. This is pretty straight-forward, since you will be folding the fabric to make the bias tape.
- Don’t use fabrics that cannot be ironed, or that will melt when ironed on a higher temperature. I found that while making bias tape, I have to put my iron on a higher setting than normal. Make sure your fabric can handle this.
Making your own bias tape maker
As said before, one of the supplies you need for making bias tape is a bias tape maker. You can buy these online or in some shops that sell sewing supplies, but they are made entirely out of metal and are thus not too cheap. (At least the ones I have bought in local shops, I cannot vouch for the price – or the quality – of online-bought bias tape makers).
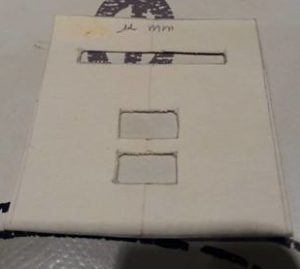
Instead of buying a bias tape maker however, you can also just make one yourself. (we are getting deeper and deeper into the diy spectrum here – diyception?). There are multiple tutorials online for doing this, such as this one and this one.
I have personally used the second one myself, and I’ll give a nice list with the pro’s and cons of making your own bias tape maker.
pros:
- really cheap, made with materials that you usually have lying around the house.
- easy and quick to make, which means you can make one faster than you can run to the shop to buy one.
- you can choose the width of your bias tape, you are not limited to 3 or 4 sizes.
cons:
- the fabric will stretch really easily as you take it through the bias tape maker. I did not have this problem with the store-bought one, as it is made out of metal, which means the fabric glides through more easily.
- it is harder to center the folds.
So, that was it for the tutorial today. I hope you learned something new and be sure to share your bias tape creations in the comment section below!