
Time for a new topic in our basic cosplay sewing series. This time, we’re gonna talk about interfacing!
Interfacing… what?

Different kinds of interfacing.
Interfacing is a type of fabric that is used on the wrong side of your main fabric to add stiffness to it. Interfacing can have glue on one side (called fusible interfacing), so you can iron it to your fabric. There is also non-fusible interfacing, which you have to stitch to your fabric. I have never seen (or used) non-fusible interfacing myself, but it can be used on fabrics that can’t be ironed, or where the glue would seep through. If you are unsure of whether you are dealing with fusible or non-fusible interface, just hold it up to the light. Fusible interface should have one glossy side, or one side with little points, where the glue is. Interface also comes in different wights, from very soft and light, to almost cardboard-hard, and in multiple colors, but most commonly white, and sometimes also black. Your sewing pattern will normally specify which interface to use. Interface can also be woven (looks a bit like fabric) or non-woven (looks a little like paper). The woven interface has a grain like normal fabrics, and should be cut out in the same direction as the rest of your pattern pieces. Lastly, interfacing can be stretchable or non-stretchy (the latter being the most common).
So what is it used for?
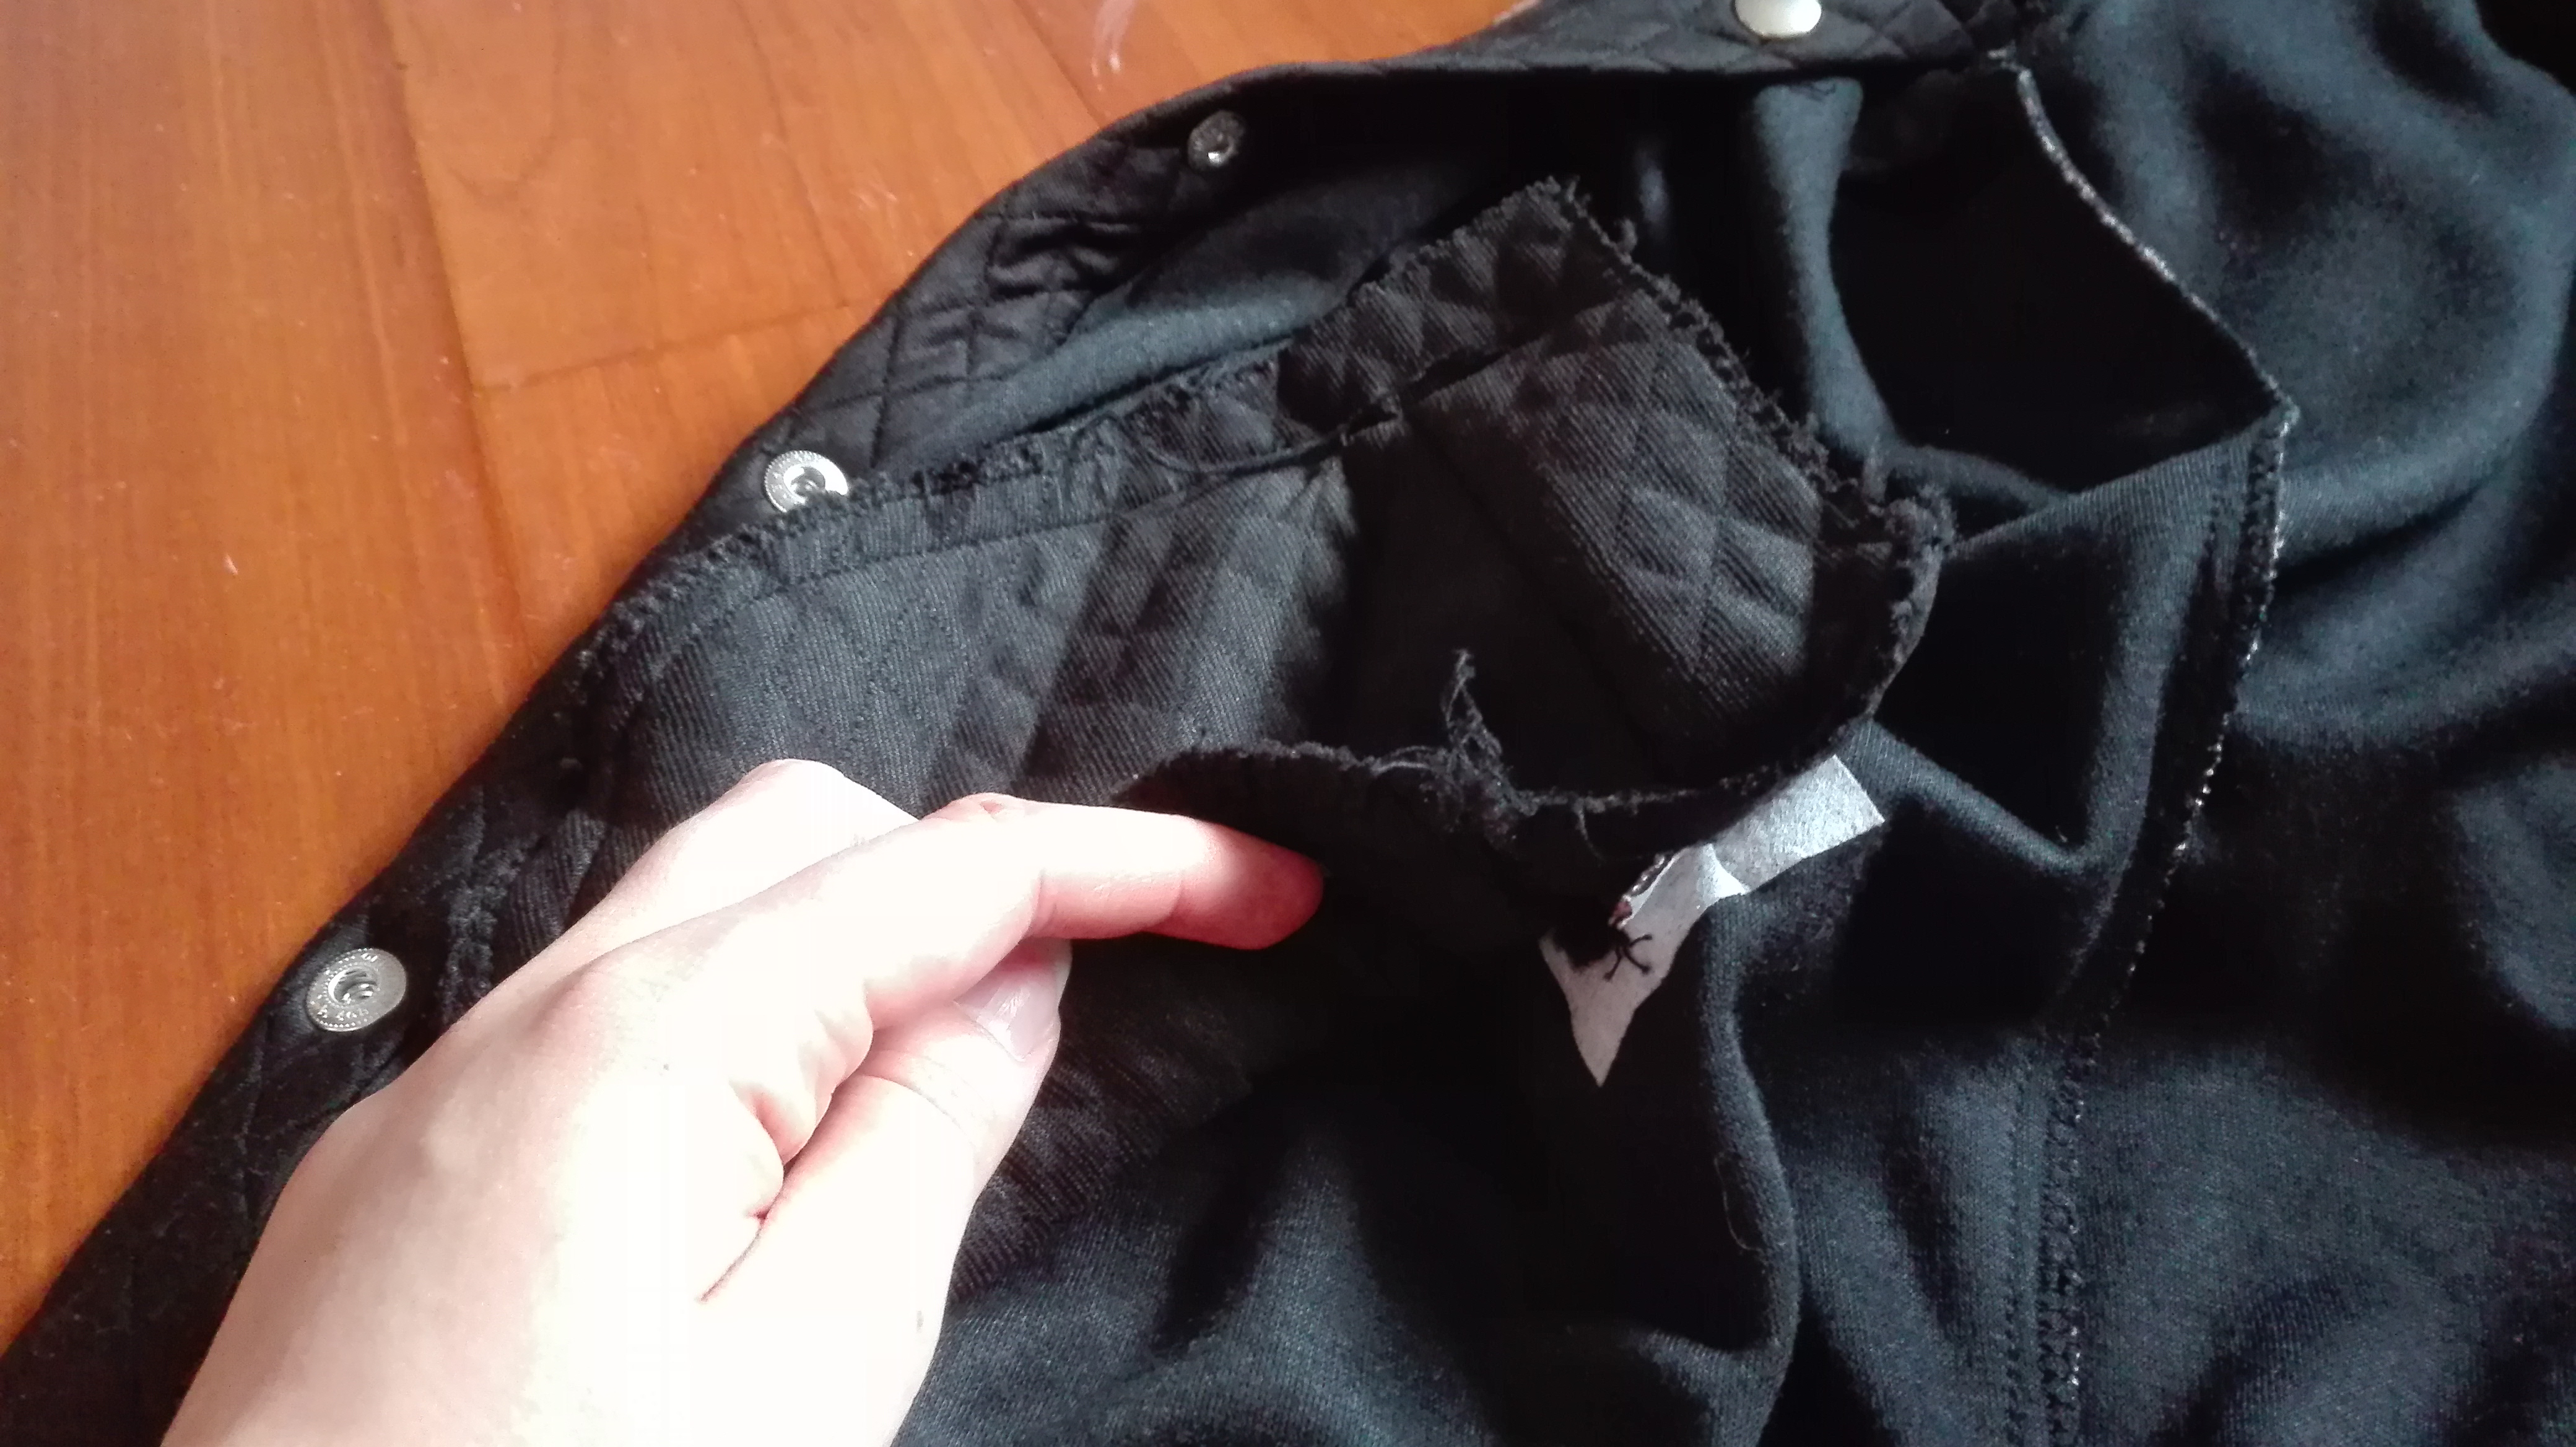
This welt pocket has white interface on the inside to strengthen it.
So now we know what interfacing is, we can talk about what it is used for. Interfacing can actually be used for different things:
- To stiffen fabric, for example in collars or waistbands
- To strengthen fabric that undergoes a lot of stress, for example for buttonholes and buttons. It also stops most fabrics from fraying
- To ensure that your fabric doesn’t stretch if it is cut on the bias, for example around necklines and armholes.
If you are now thinking: well, but I’ve made tons of clothes before without interfacing, and it worked just fine, you are kind of correct. You can make clothes without interfacing, but let me tell you that they will look a lot better if with interfacing.
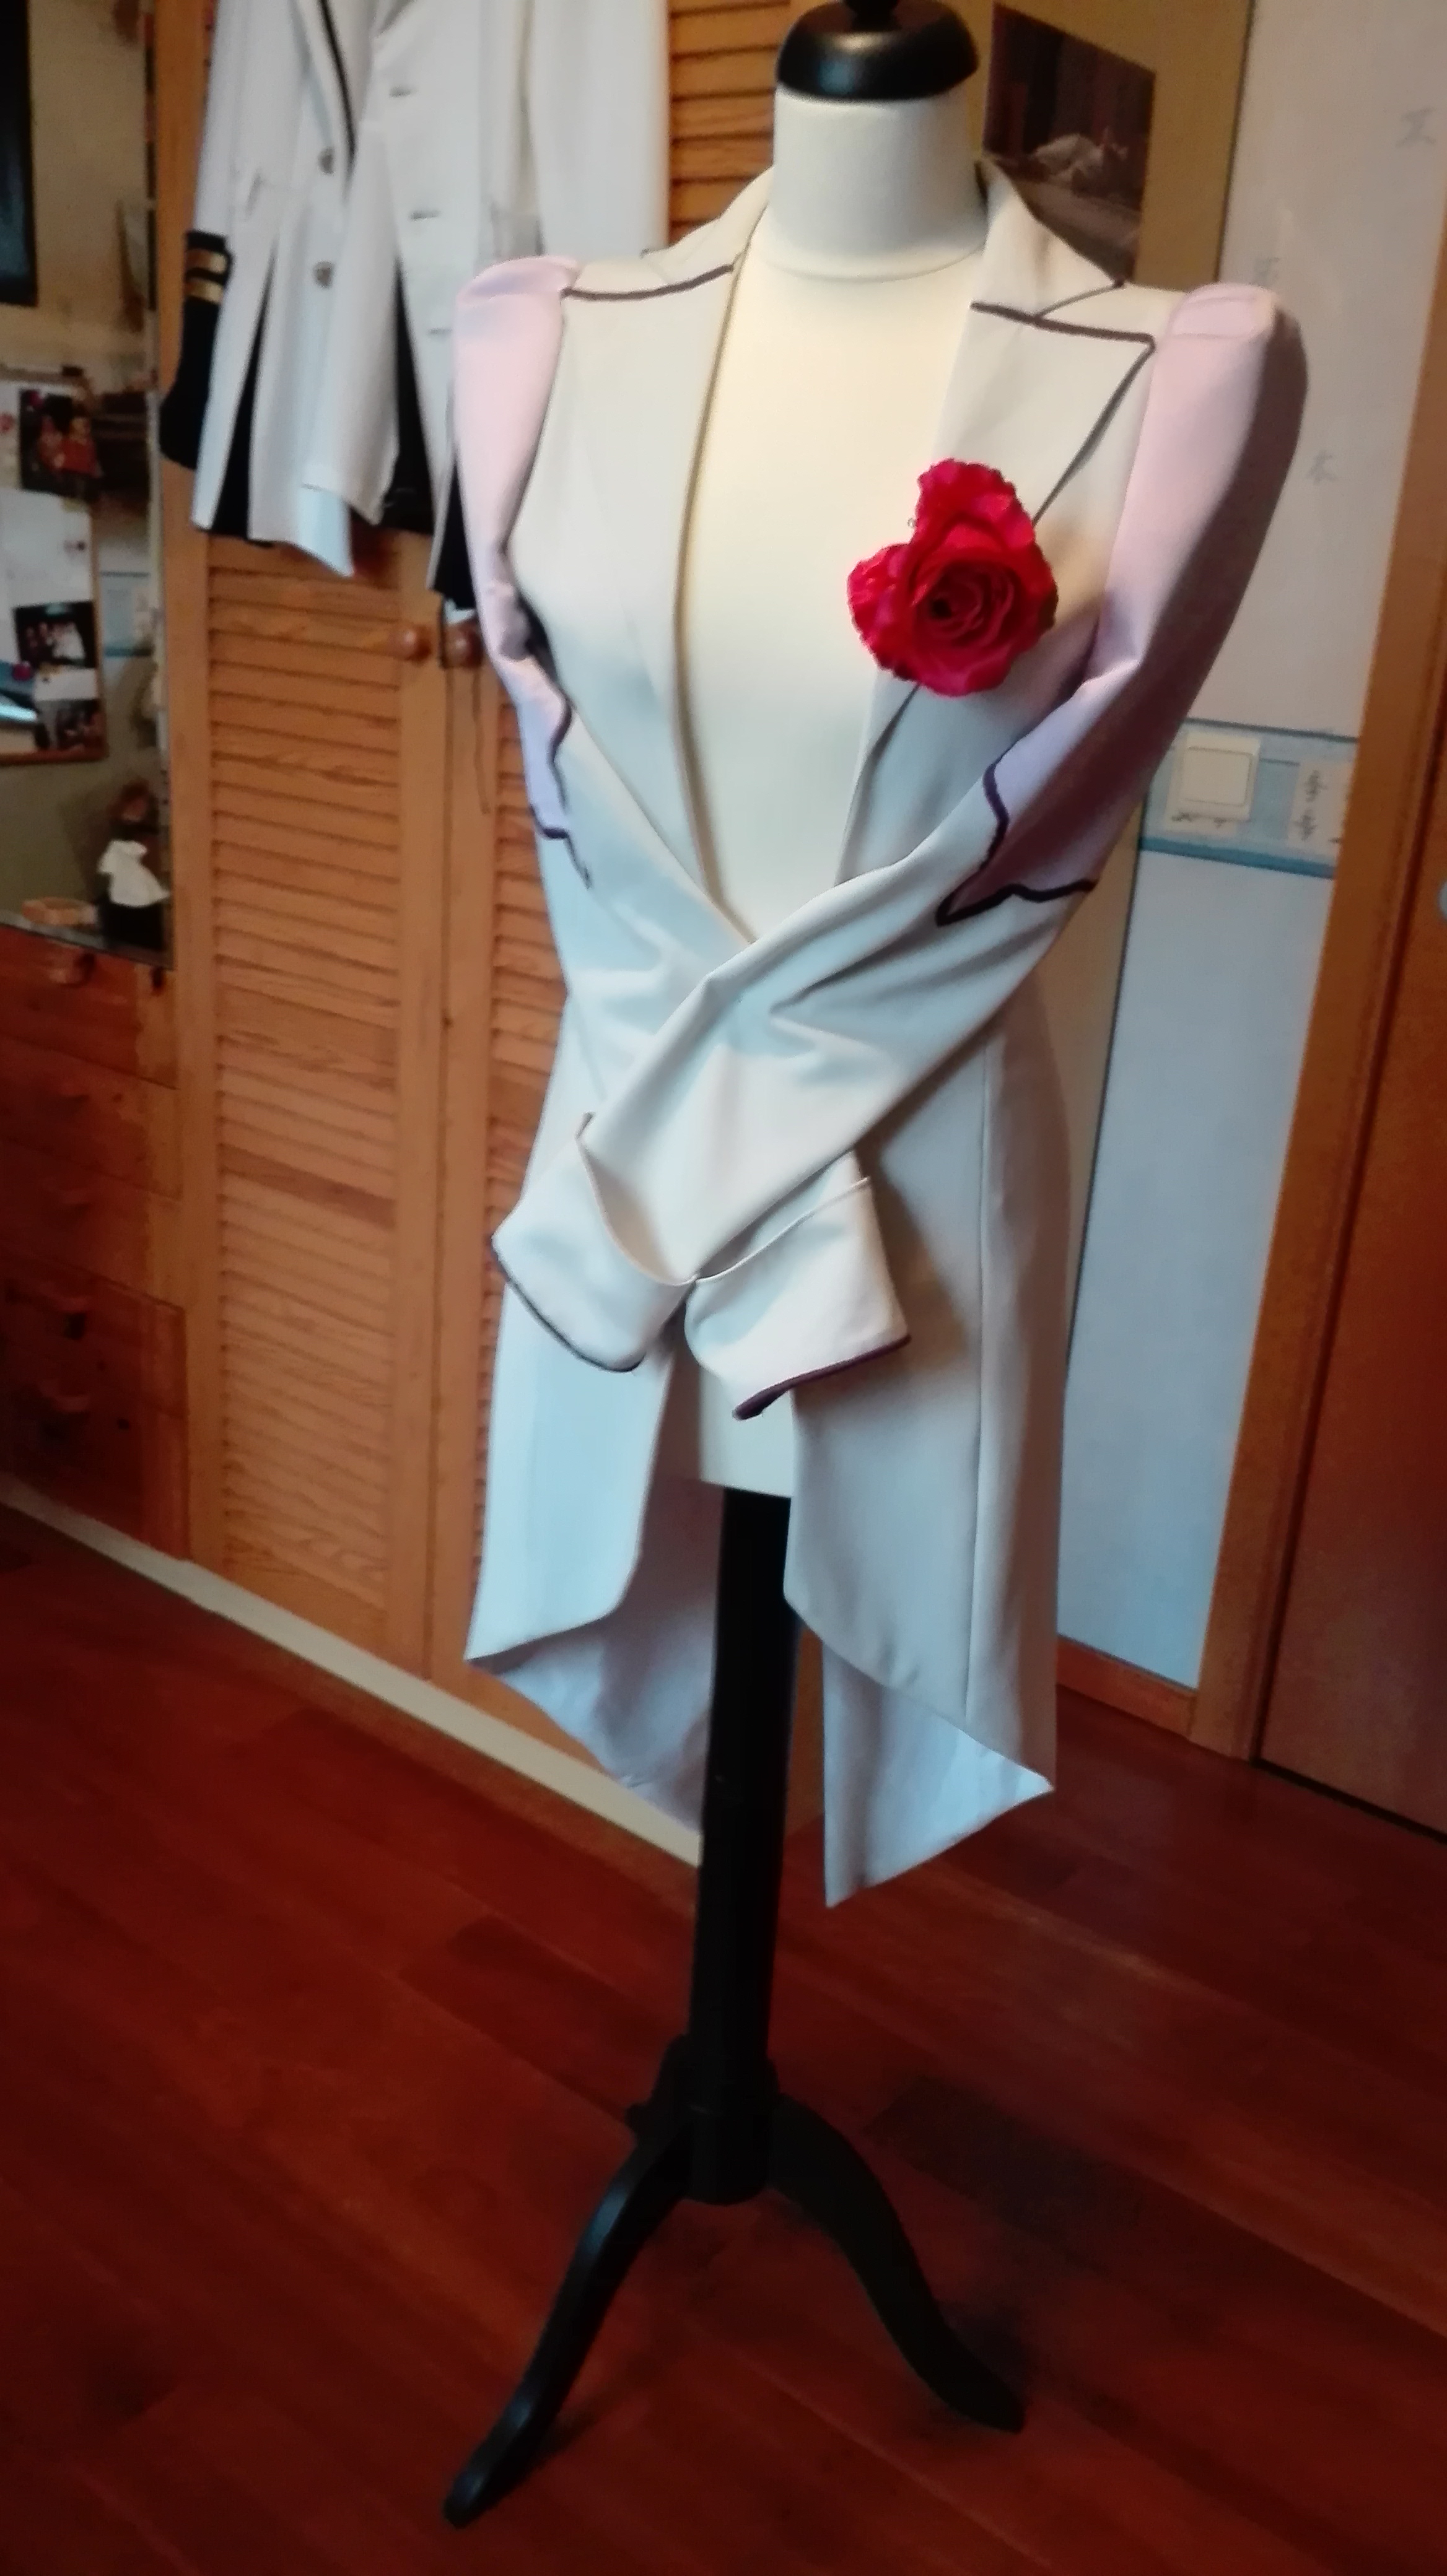
The front of this jacket, as well as the collar, is strengthened with interfacing to give it a clean look.
Normally, your pattern will specify which parts you should have interfacing, but if you are making your own patterns, or making adjustments, here are just a few places that often have interfacing
- The whole front of coats
- Collars and cuffs
- Necklines and armholes (especially of coats), to keep them from stretching out of shape
- The front strip in shirts, where the buttons and buttonholes are
- Waistbands in trousers and skirts
- Certain kinds of pockets, such as welt pockets
If there are multiple parts that should be strengthened using interfacing, it is best to cut the whole piece out of interfacing, as it will have better flow.
Tips and things you should know when using interfacing
Before you go, here are some more things you should know about interfacing:
- You can layer interfacing if you want to have even thicker interfacing, for example, I used multiple layers of interfacing in the collar of my Mako two star uniform so it could stand up on its own
- To ensure the interfacing doesn’t move while you are ironing, avoid ‘gliding’ over the fabric with the iron. Instead, press and pick it up and press the next spot.
- I usually start ironing the interfacing in the middle of the piece, to avoid air bubbles.
- On some interfaces, there are instructions on the bottom of the interface with how long you should press it. Avoid using these parts, especially if you are working with lighter fabrics, as they might be visible through the fabric.
- Similarly, avoid using dark markers or even pencils to mark yur pattern on the interfacing if you are working with a light fabric, as the lines might be visible as well.
- Interfacings don’t stick to all types of fabric. Test it out on a small patch beforehand.
- Especially if you have sturdier intefacing, cut the interface without seam allowance to avoid bulking up your seams. If you are afraid of the interface coming loose, give it just a few millimeters of seam allowance, so that it will be caught in your seams, but won’t add too much extra bulk to them.
- There are also really sturdy interfacing that almost feel like cardboard, which you can use for projects such as bags or even hats. This video shows some nice examples of different kinds of interfacing.
